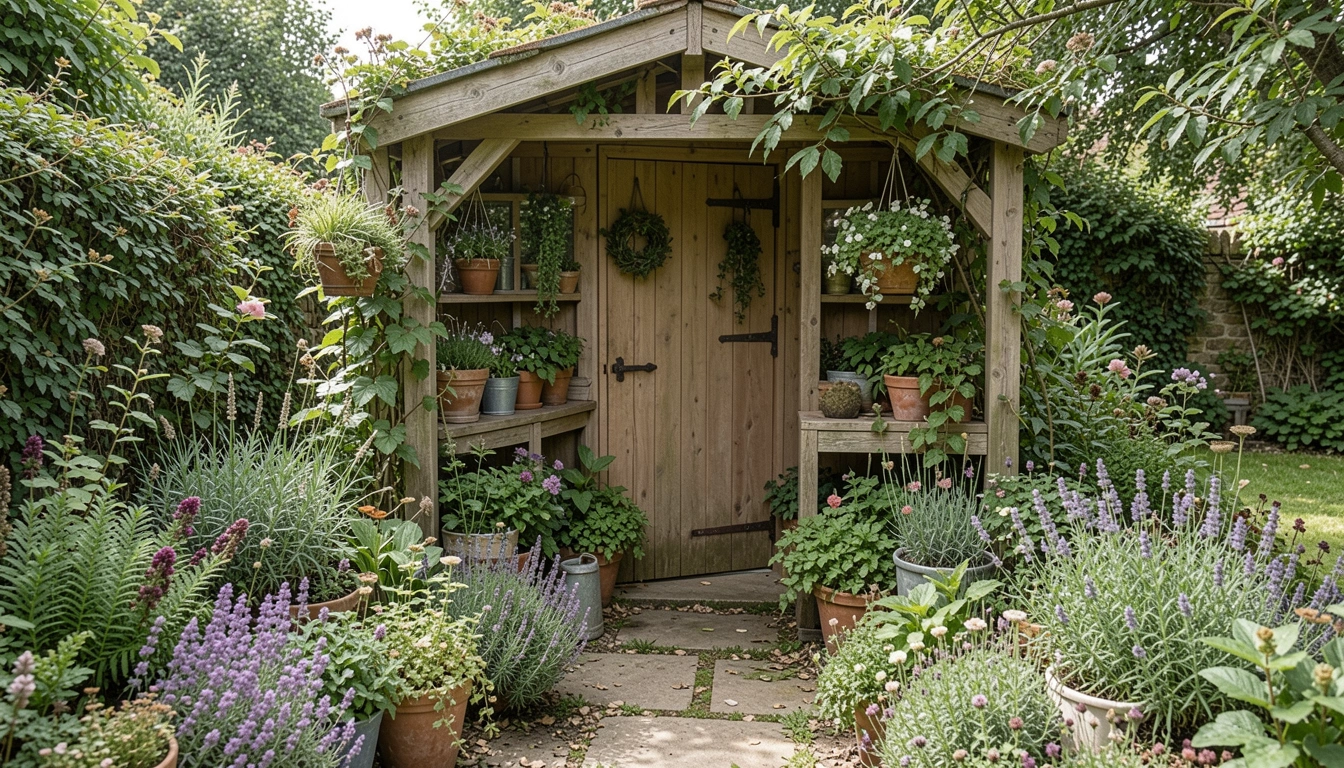
My cottage garden shed sat there plain and boxy. It stuck out against the soft curves of the flower beds. I walked past it every day, feeling off-balance.
One afternoon, I stopped staring. The shed needed to blend in, not shout. It could hold tools and still feel right.
I started small. Now it sits cozy in the garden, like it grew there.
How to Decorate Cottage Garden Shed
This is the way I settle a shed into a cottage garden. You'll end up with a warm spot that pulls the eye gently, without extra work.
What You’ll Need
- Vintage galvanized metal bucket, 10-inch
- Wrought iron hanging bracket, rustic black
- Wooden crate shelf, reclaimed pine 24-inch
- Clay terracotta pots, set of 3 assorted sizes
- Twine-wrapped fairy lights, 33-foot warm white
- Herb plant bundle, lavender rosemary thyme
- Vintage-style watering can, green enamel
- Burlap fabric remnant, natural 5-yard
Step 1: Clear the Walls and Stand Back
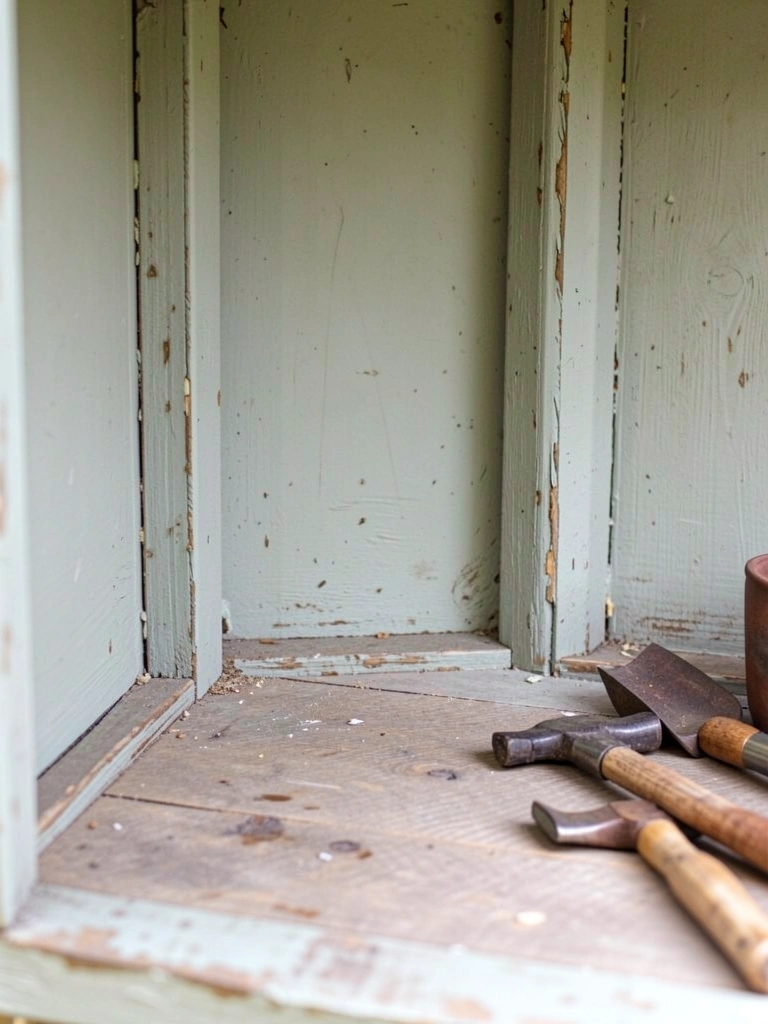
I walk around the shed first. Pull off anything nailed up. Let the walls breathe.
Now the shape shows true. Wood grain catches light. It feels honest, ready.
People miss how empty space sets the tone. Don't crowd yet. Mistake: hanging too soon. Wait till it settles.
Balance comes from nothing at first. Step back ten feet. See the lines flow into the garden.
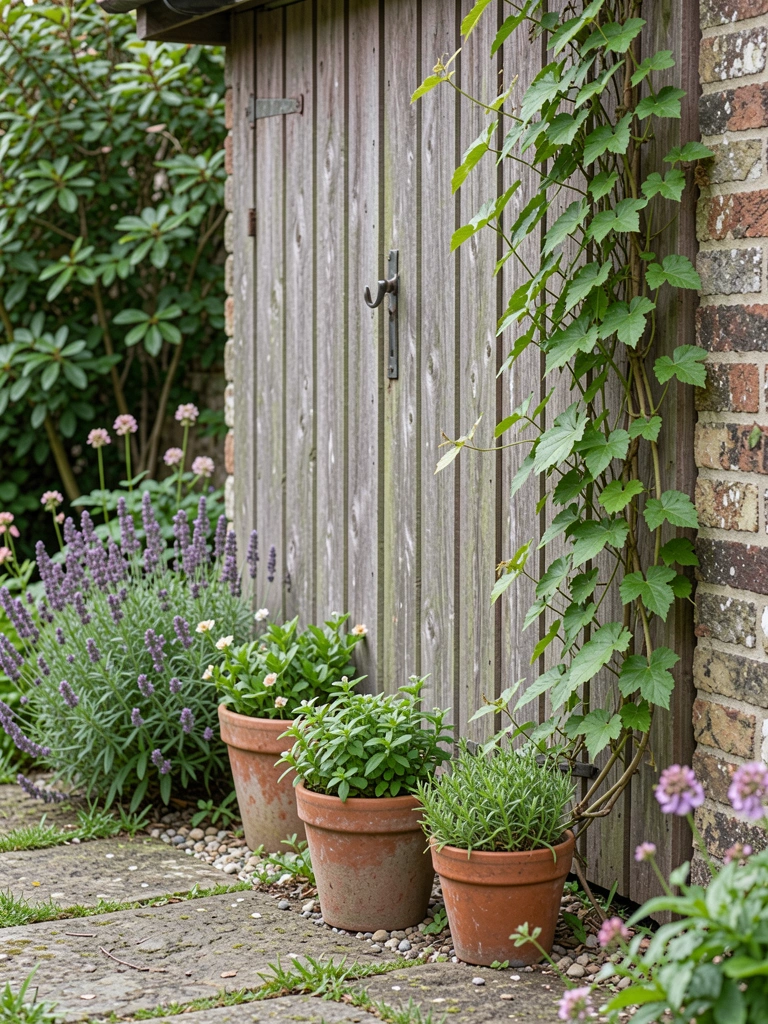
Step 2: Anchor with Climbing Greens
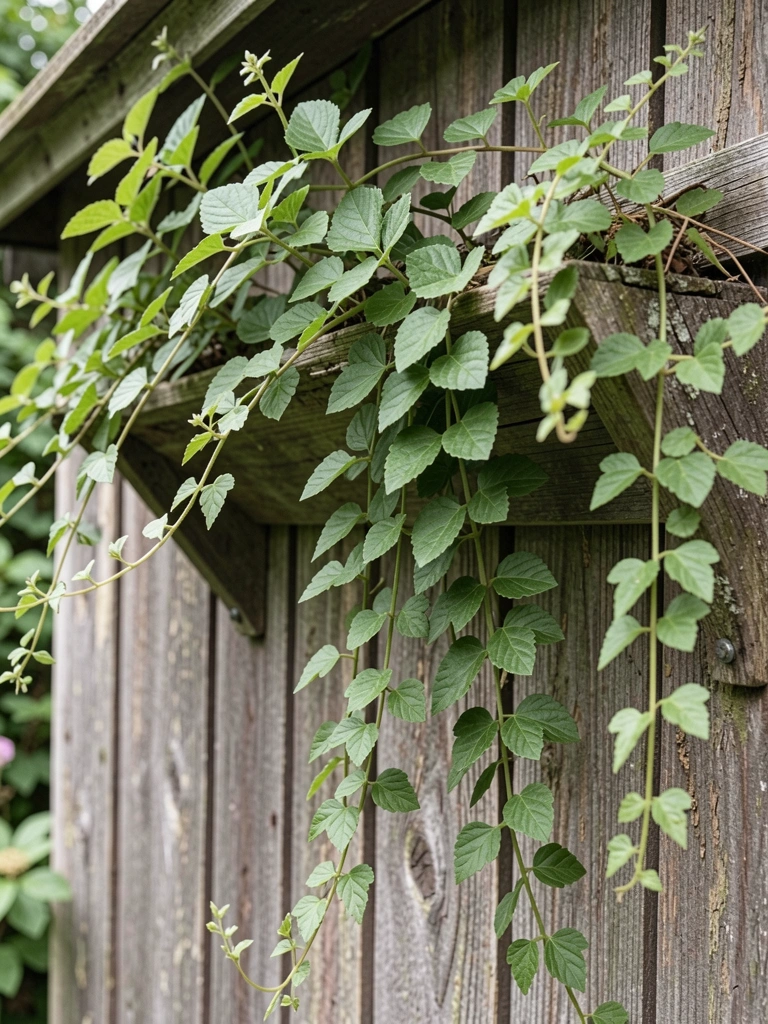
I pick spots where vines can climb natural. Hook [wrought iron hanging bracket, rustic black] at eye level, two per side.
Tuck in ivy or clematis starters. They soften edges right away. The shed pulls back into the beds.
Insight: greens hide flaws but show structure. Avoid overplanting one side. It tips the view.
Watch how shadows play. It feels grounded now, less boxy.
Step 3: Layer Pots for Depth
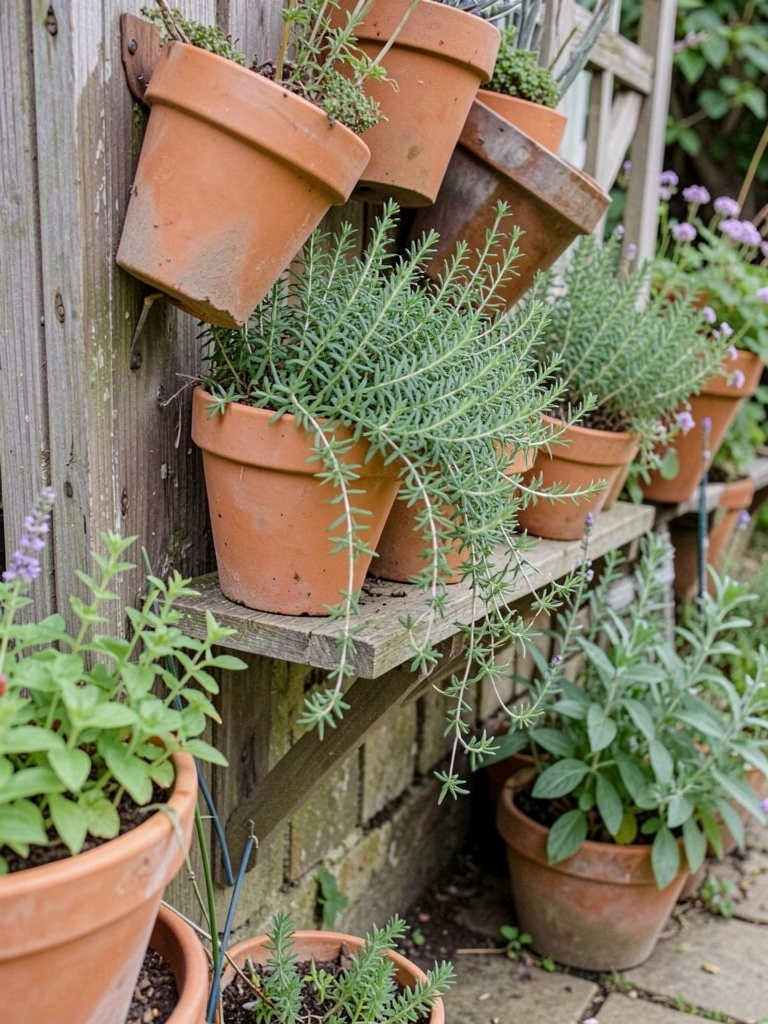
I hang [clay terracotta pots, set of 3 assorted sizes] from brackets. Fill with [herb plant bundle, lavender rosemary thyme]. Cluster low ones too.
Layers build out from the wall. Textures mix—rough clay, soft leaves. Eye moves easy.
Missed often: odd numbers feel right. Don't line them even. Skip filling every pot full.
It warms the front now. Touches the path.
Step 4: Add Shelves and Everyday Holds
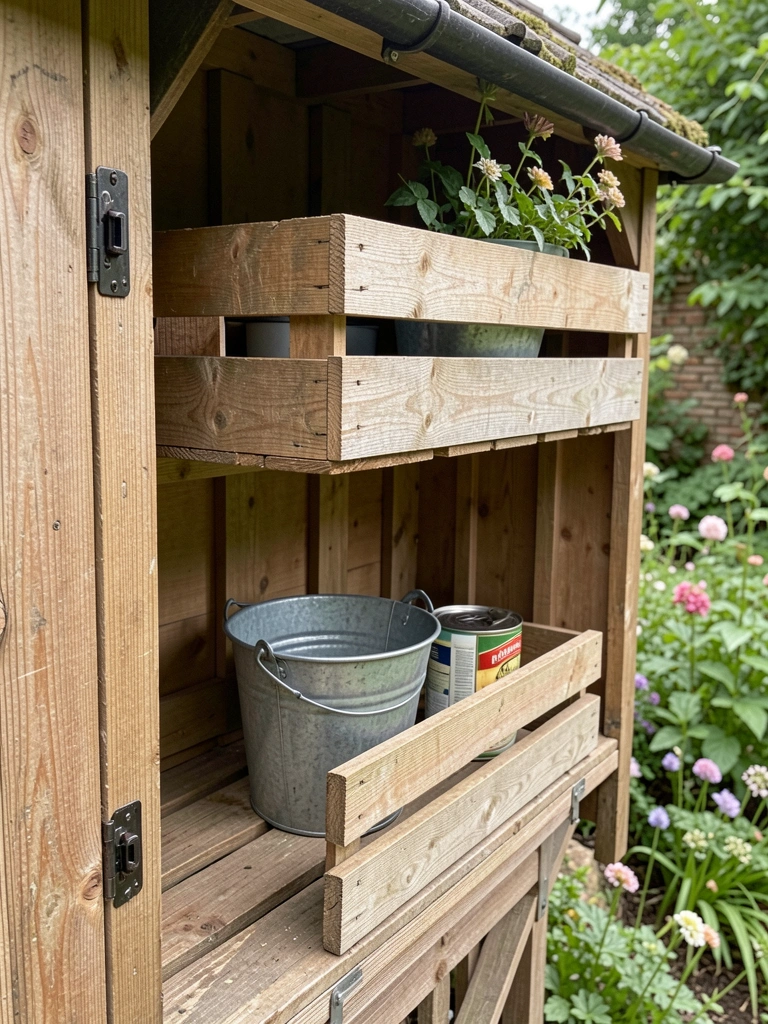
Screw up the [wooden crate shelf, reclaimed pine 24-inch]. Lean a [vintage galvanized metal bucket, 10-inch] inside.
Tuck [vintage-style watering can, green enamel]. Everyday things sit ready. No fuss.
People forget shelves tie high and low. Avoid centering perfect. Offsets look lived-in.
Visual shift: shed holds the garden now. Balanced weight.
Step 5: Soften with Draped Light

Drape [twine-wrapped fairy lights, 33-foot warm white] along the roof edge. Wrap [burlap fabric remnant, natural 5-yard] loose under.
Light pools soft at dusk. Adds cozy without glare.
Insight: loose hangs follow the lean. Don't stretch tight. It fights the cottage feel.
Evening changes it—inviting, part of the paths.
Step 6: Step Back and Nudge
Walk the path past it. Nudge pots fuller out. Trim a vine crossing sightline.
Everything settles. Balance shows in flow.
Common miss: over-tidy. Leave some lean. Avoid matching colors exact.
It fits now. Quiet pull.
Year-Round Interest
I swap herbs for evergreens in winter. Keeps the green alive.
- Lavender toughs cold; add hellebores below.
- Lights stay year-round for short days.
Summer, spill trailing lobelia from pots. No big changes needed.
Feels steady through seasons.
Handling Weather Wear
Rain fades paint over time. I like the patina.
- Brush dirt off crates monthly.
- Check brackets after storms.
Burlap softens in wet. Replace if it sags.
Stays comfortable, not new.
Small Space Tweaks
Narrow sheds? Hang single pots high.
- Use wall space over doors.
- Ground crates double as steps.
Keeps flow open. Eye rests easy.
Final Thoughts
Start with one wall. See how it sits.
Your shed will blend quiet. No rush.
It holds tools and memories now. Walk by tomorrow different.
Leave a Reply