I stared at my garden wall last spring. Blank concrete, nothing but weeds creeping up. It made the whole patio feel flat. I wanted color without clutter.
Paintings caught my eye in a neighbor's yard. Simple frames against stone. Not fussy, just right.
I tried it on my wall. Now it pulls the eye, settles the space.
How to Design Garden Wall with Paintings
This shows you how I layer paintings on a garden wall for balance. You'll end up with a wall that feels complete, drawing the garden together. It's straightforward, works on any size wall.
What You’ll Need
- Weatherproof canvas wall art prints, 24×36 inches
- Outdoor-rated picture hanging hooks, heavy-duty galvanized steel
- Climbing ivy starter plants in 4-inch pots
- Galvanized metal wall planters, 12-inch rustic finish
- Soft LED wall sconces, black metal, warm white bulbs
- Natural jute wall hanging brackets, set of 4
- Drought-tolerant trailing succulents, 6-pack
Step 1: Gauge the Wall's Light and Mood
I walk the wall at different times. Morning sun hits one end soft, afternoon the other side sharp. This tells me where warm tones go, where cool ones balance.
Visually, the wall wakes up. Empty spots stand out less. People miss how light shifts mood—dark paintings fade in shade.
I hang a test frame low first. Avoid centering everything eye-high; it stiffens the flow.
The wall starts feeling like part of the garden, not a barrier.
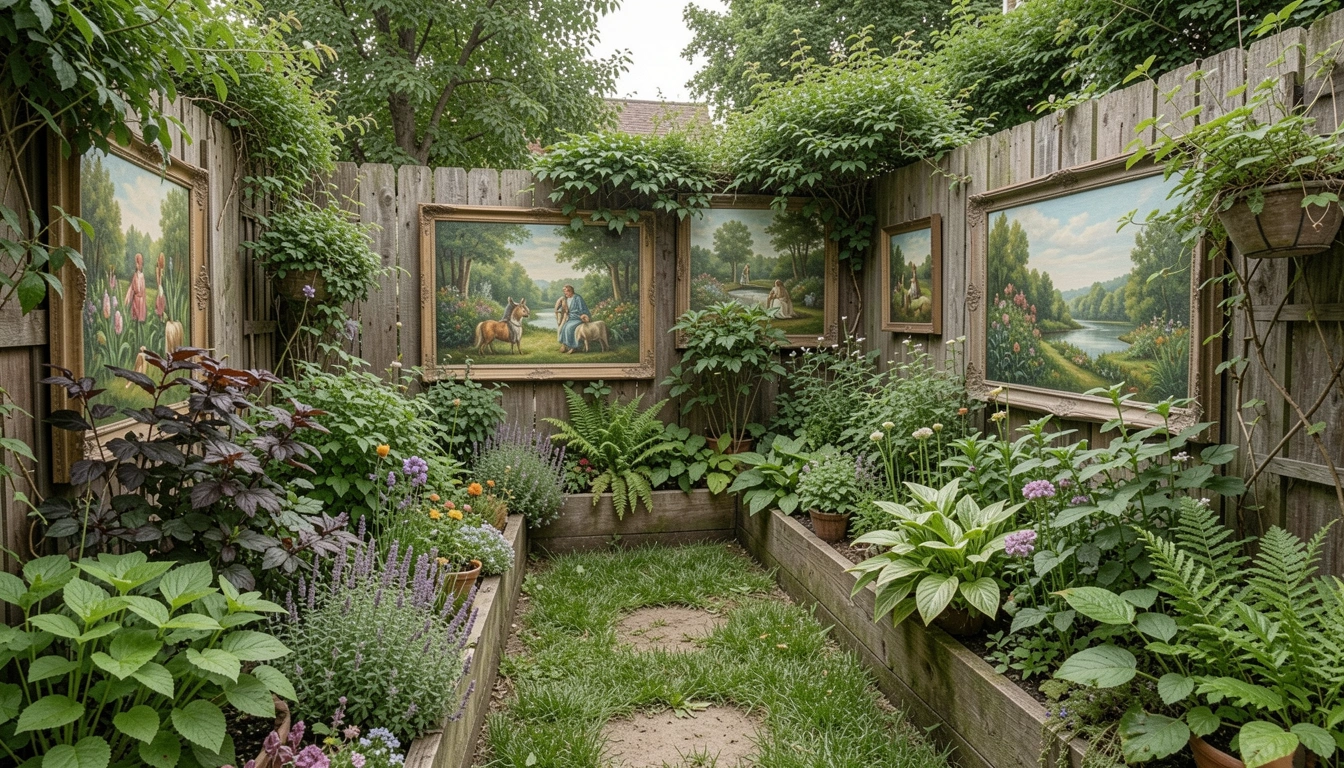
Step 2: Pick Paintings That Echo the Garden
I choose two or three pieces matching my plants' greens and earth tones. Nothing too busy—a single flower, a landscape fade.
The wall gains depth right away. Colors pull from beds below. Most overlook scale; tiny art gets lost on big walls.
I skip glossy frames outdoors. Matte holds up, avoids glare. Test by stepping back ten feet.
Now the paintings sit like they've always been there, quiet anchors.
Step 3: Place for Natural Eye Flow
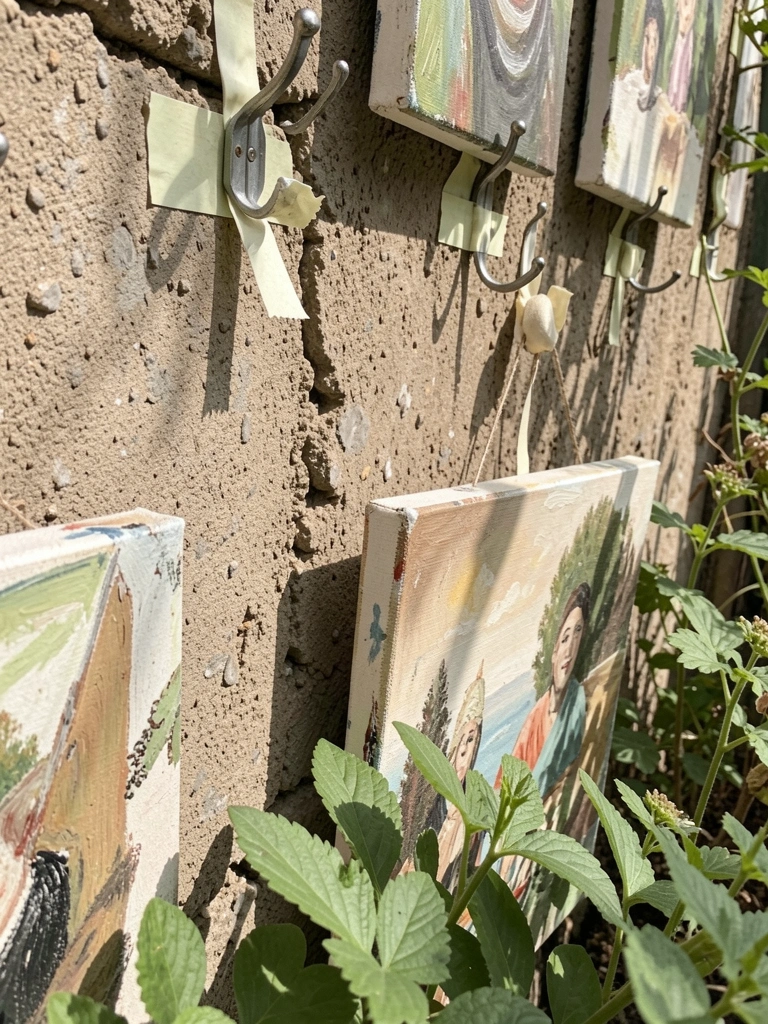
I mark spots unevenly. One high near the corner, another mid-wall offset. Eye follows a gentle path, not a straight line.
Balance shifts—the wall connects patio to beds. Insight: cluster loosely; rows look like a gallery, not garden.
Don't nail permanent yet. Use clips first. Adjust after a week walking by.
It flows now, invites you closer without trying.
Step 4: Layer Plants to Soften Edges
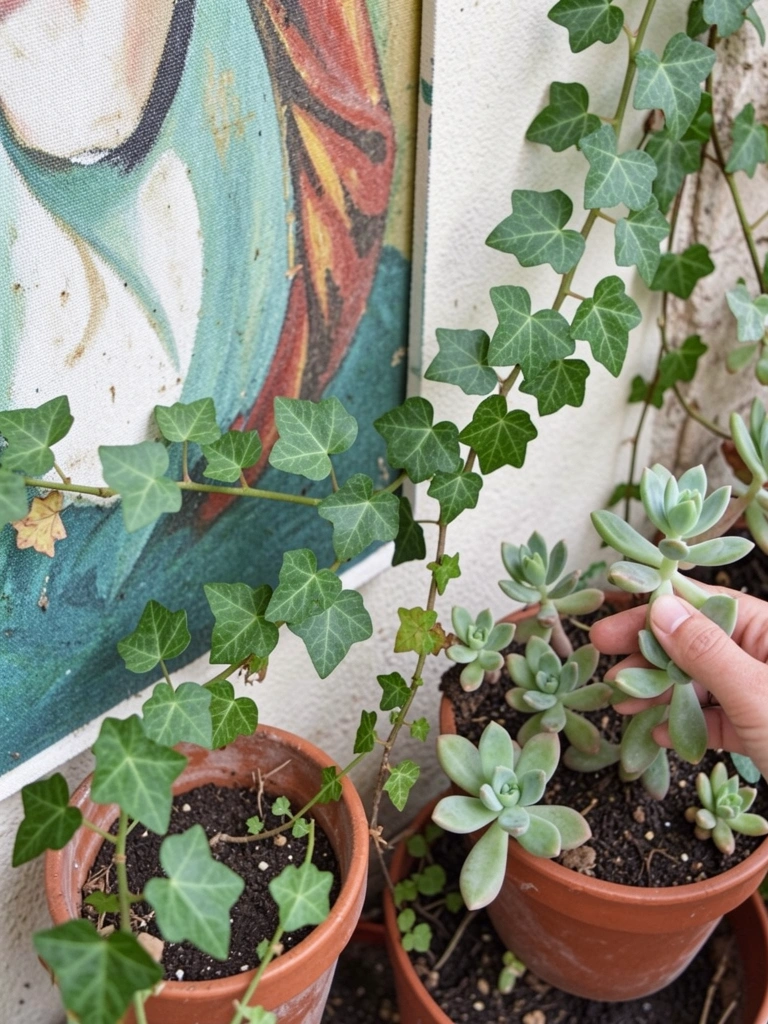
I tuck ivy starters beside lower paintings. Trailing succulents in wall pots frame the sides. They grow to hug frames gently.
The wall breathes—paintings pop against green without overwhelming. People forget plants move; stiff spacing kills rhythm.
Avoid overcrowding bases. Leave bare patches for air. Water lightly at first.
Feels lived-in, like the art grew there.
Step 5: Add Subtle Glow for Evenings
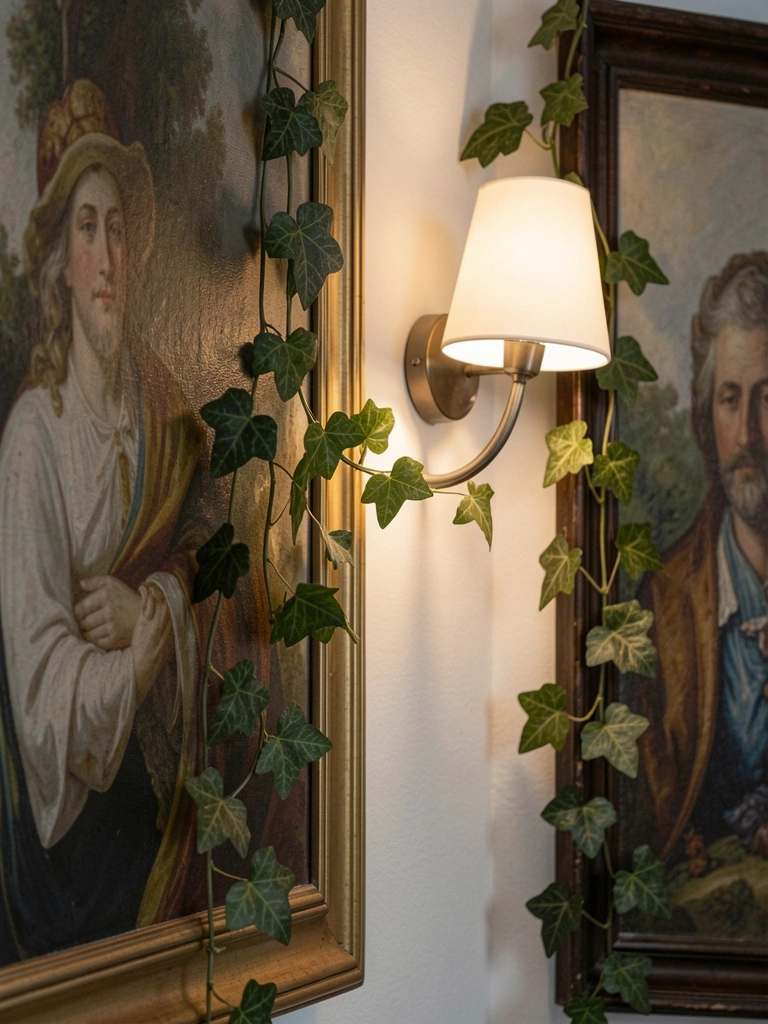
I fix sconces above or beside top paintings. Warm light washes down, highlights textures at dusk.
Nights change—the wall glows cozy, extends garden hours. Miss this, and art vanishes after dark.
Don't aim lights straight on; side angle prevents harsh spots. Test at night.
Complete now, balanced day to night.
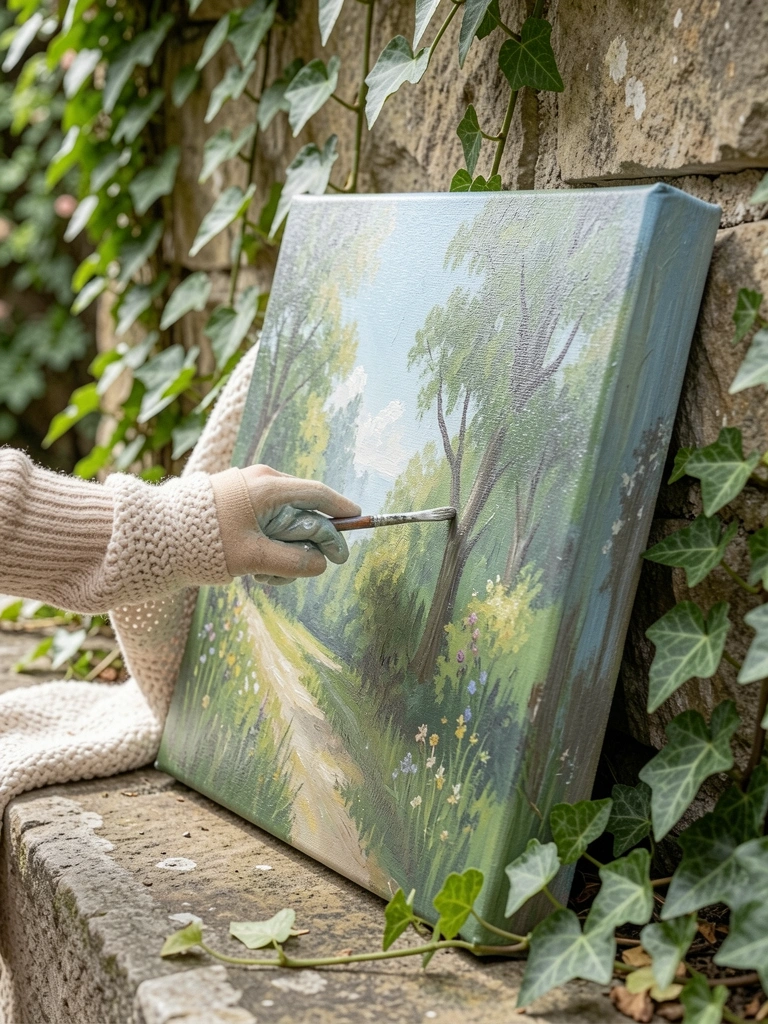
Choosing Paintings That Last Outdoors
I learned fast what fades. Canvas coated for weather holds color through rain.
Look for UV protection. My first cheap ones yellowed in a season.
- Matte finishes blend best with plants.
- Sizes: one large, two small for rhythm.
- Themes: garden motifs echo beds.
They settle in, age gracefully.
Blending Wall Art with Surrounding Plants
Paintings alone feel hung. Plants bridge them.
I weave climbers around edges. Pots below catch drips.
- Ivy softens corners.
- Succulents add spill without mess.
- Trim yearly for air flow.
The whole side unites.
Adjusting for Seasons and Wear
Walls shift with weather. I check quarterly.
Faded spots? Swap in new prints.
- Clean frames with damp cloth, no soap.
- Rehang loose hooks after storms.
- Winter: tuck plants, art stays.
Stays fresh, low fuss.
Final Thoughts
Start with one painting on your blankest wall. See how it shifts the feel.
You'll notice balance right away. Tweak as plants grow.
It's just layering what fits. Your garden wall will feel right, pulling everything together.
Leave a Reply